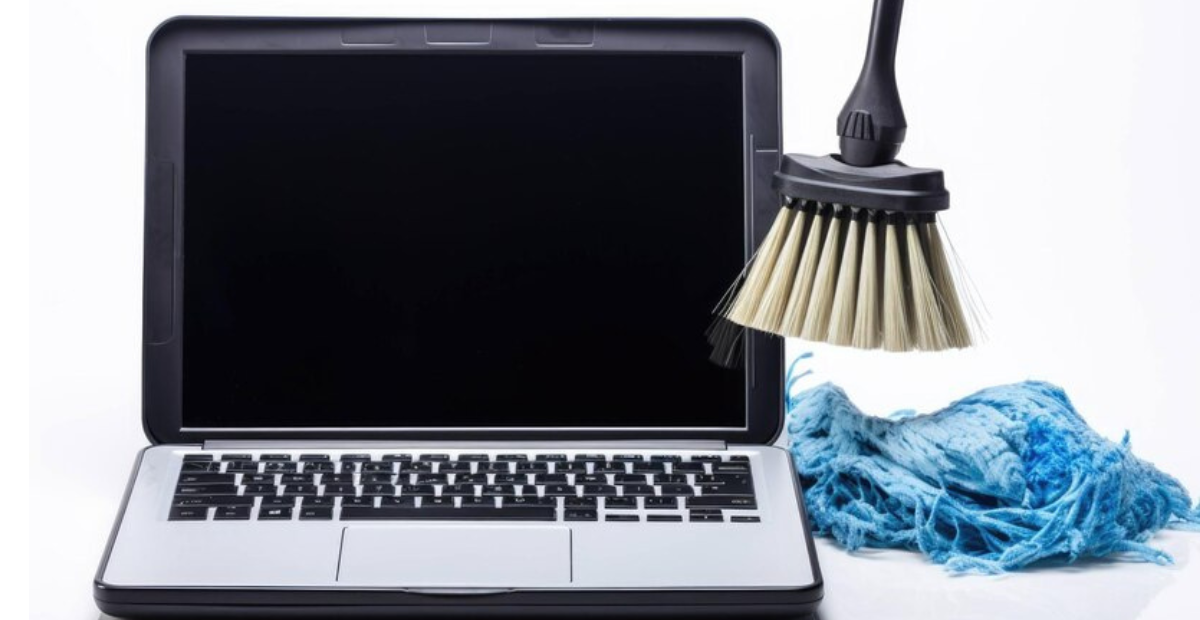
How to Clean a PC: A Step-by-Step Guide for Optimal Performance
Keeping your PC clean isn’t just about appearances, it directly affects how well your system runs and how long your components last. Over time, dust and debris accumulate inside your computer, clogging up fans and vents, reducing airflow, and causing components to overheat. This can slow down your system, increase noise, and even lead to hardware failure.
Regular cleaning not only prevents these issues but also helps your PC maintain its performance over time. Whether you’re a gamer, a remote worker, or just someone who uses their computer daily, learning how to clean your PC the right way is essential for avoiding costly repairs and downtime.
With a balanced approach to both hardware and software maintenance, your PC can stay fast, quiet, and efficient for years. Whether you’re gaming, editing, or just browsing, a clean system offers a better experience, and it saves you money in the long run.
Essential Pre-Cleaning Preparation
Before you dive into the physical cleaning process, it’s important to get everything in order. From understanding your PC’s internal layout to gathering the right tools, this step ensures the process goes smoothly and safely without damaging anything.
Understand Your PC Components
Before diving in with cleaning tools, take a few minutes to understand what you’re working with. Each component inside your PC serves a specific purpose, and some parts are more sensitive than others.
- Motherboard: The main circuit board where all components connect. Avoid touching it directly.
- CPU and heatsink: The processor and its cooling system. Often gathers a lot of dust.
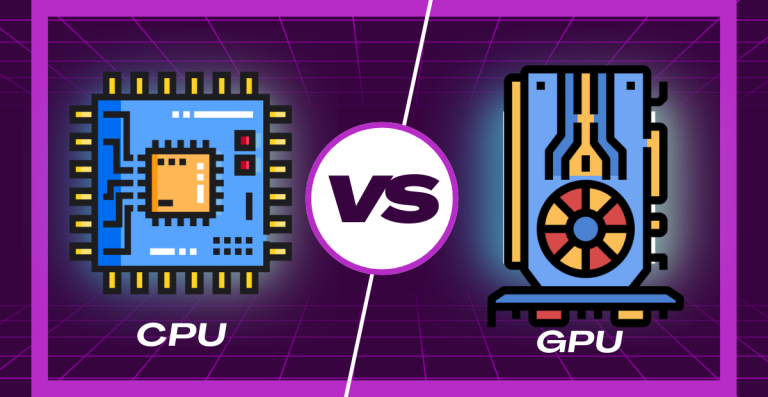
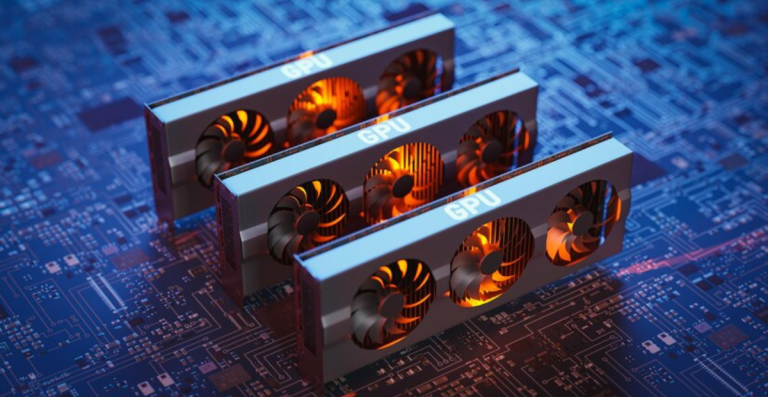
- GPU (Graphics Card): A powerful component used in gaming or visual tasks. Needs careful cleaning.
- Fans and power supply vents: These collect dust easily and restrict airflow if not maintained.
- RAM and storage drives (SSD/HDD): Less likely to collect dust, but still require occasional attention.
Knowing what these components look like and where they are located inside the case will help you clean more effectively and avoid accidents.
Prepare Necessary Cleaning Tools
Gather everything you’ll need in one place before starting. Using the right tools will protect your components and make the process smoother.
- Compressed air can: Great for removing dust from tight spaces without touching components.
- Microfiber cloths: Gentle on surfaces and won’t leave lint behind.
- Soft brushes: Ideal for dislodging stubborn dust, especially on fans.
- Isopropyl alcohol (99%): Useful for spot-cleaning dirty areas, especially on contacts.
- Cotton swabs: Help clean hard-to-reach spots when lightly dampened with alcohol.
- Anti-static wrist strap: Prevents static discharge that can damage internal parts.
- Screwdriver: Needed if you’re opening the case or removing any components.
Safety Precautions
Cleaning a PC involves sensitive components, so taking a few safety steps is non-negotiable. Disconnecting power, avoiding static discharge, and handling parts carefully will protect both you and your machine.
Disconnecting Power and Peripherals
This is the most important step. Always turn off your computer and unplug it from the wall before opening the case. Also, remove all peripherals like USB drives, external hard drives, and monitors to avoid any interference or accidents during cleaning.
- Shut down your PC fully (do not leave it in sleep mode).
- Unplug the power cable and hold the power button for 5 seconds to discharge any leftover electricity.
- Disconnect all external devices to clear your workspace.
Grounding Yourself
Static electricity is a silent killer of electronic components. Even a small zap can destroy sensitive hardware.
- Wear an anti-static wrist strap and clip it to a grounded metal surface.
- If you don’t have a strap, touch a metal part of your case (while it’s unplugged) before touching any internal component.
- Avoid working on carpeted floors, which generate more static. A wooden table is ideal.
Internal Cleaning and Maintenance
The inside of your PC is where dust and heat buildup can quietly slow things down. By cleaning internal areas and maintaining proper airflow, you can restore speed, lower temperatures, and extend your system’s life.
Cleaning Dust and Debris
Now that you’ve safely opened your PC, start by blowing out loose dust. Use short bursts of compressed air to avoid spinning fans too fast or damaging small parts.
Focus on these areas:
- Case fans and CPU fans: Hold the fan blades still with a pen or toothpick while using compressed air.
- Heatsinks: Blow through the fins to remove dust buildup.
- Power supply vents: Only clean the outside unless you’re trained to open it safely.
- Bottom of the case: Wipe with a microfiber cloth after blowing out dust.
Avoid shaking or tipping the can of compressed air. Keep it upright to prevent moisture from being released.
Enhancing Airflow for Cooling
Dust reduces airflow, which causes your system to run hotter and louder. Once cleaned, take a few extra steps to make sure your case breathes properly.
- Check fan orientation: Front fans should bring air in, rear/top fans should push it out.
- Organize cables: Use zip ties or velcro straps to bundle cables out of the way.
- Inspect fan filters: If your case has mesh filters on intake vents, clean or rinse them (after drying thoroughly).
- Consider adding fans: If your temperatures remain high, install an extra intake or exhaust fan.
A well-ventilated PC runs cooler and is less likely to throttle performance due to overheating.
SSD and HDD Care
While your storage drives don’t usually collect much dust, they still need care.
- HDDs (Hard Disk Drives): Avoid moving or bumping them while powered on. They contain spinning platters that can be damaged by vibration or shock.
- SSDs (Solid State Drives): No moving parts, but still benefit from regular software maintenance to stay fast.
- Free up storage space: Both HDDs and SSDs slow down when nearly full, so delete unnecessary files or transfer them to an external drive.
- Keep drives cool: Ensure surrounding airflow is adequate and no dust is blocking the drive bays.
Component-Specific Cleaning
Every major PC part has its own cleaning needs. Whether it’s the CPU, GPU, or RAM, learning how to handle each component correctly can make a big difference in both performance and durability.
CPU and Heatsink Cleaning
The CPU heatsink collects dust between its metal fins, which can trap heat. Use compressed air at an angle to blow it out. If the thermal paste is old (2+ years), consider reapplying fresh paste for better heat transfer but only if you’re comfortable doing so.
GPU Cleaning
Graphics cards tend to gather dust on their fans and heatsinks. Use compressed air to clean between the fins, and hold the fan still to avoid damage. Be extra gentle, especially around the PCB (circuit board) area.
RAM Cleaning
RAM rarely needs physical cleaning, but if you’re doing a deep clean:
- Gently remove the RAM sticks by pressing down on the side clips.
- Wipe the gold connectors with a microfiber cloth or a cotton swab dipped lightly in isopropyl alcohol.
- Let them dry completely before reinserting.
Software Cleanup and Optimization
While physical cleaning protects your hardware, cleaning up your software environment is just as important. Over time, systems accumulate junk files, background apps, and outdated software that can slow everything down. Let’s walk through how to tidy up your PC from the inside out.
Removing Unnecessary Files
Start by getting rid of digital clutter. Old files, leftover downloads, temporary cache, and recycle bin contents all take up valuable space and may slow your PC.
Here’s how to clear them safely:
- Use built-in cleanup tools like Disk Cleanup (Windows) or Storage Management (Mac).
- Delete temporary files using commands like Run > %temp% on Windows.
- Empty the Recycle Bin regularly.
- Clear browser caches if you’re noticing slow internet browsing.
For a more thorough cleanup, consider trusted third-party apps like Cleaner, but use them cautiously avoid features that alter registry settings unless you know what you’re doing.
Managing Installed Apps
Unwanted apps not only take up space but can also run in the background, using RAM and CPU without you realizing.
To clean things up:
- Uninstall programs you don’t use.
- On Windows, go to Settings > Apps > Installed Apps and remove any unnecessary software.
- On Mac, drag apps to the Trash and then empty it.
- Check your system tray or taskbar to see which apps launch automatically.
- Be careful not to remove drivers or system-critical tools. If in doubt, do a quick search before uninstalling.
Removing bloatware (pre-installed apps you never asked for) can significantly improve boot times and free up storage.
Update and Protect Your System
Outdated software can be a security risk and can lead to slowdowns. Make sure your operating system and important apps are up to date.
- Update your OS regularly Windows Update or macOS Software Update should be checked often.
- Install driver updates for your graphics card, chipset, and network devices. Manufacturers often release performance improvements or bug fixes.
- Keep your antivirus software updated, and run a full scan after every deep cleaning session.
- Use a malware scanner like Malwarebytes to ensure no hidden threats are slowing down your system.
System Optimization
Now that your files are cleaned up, it’s time to optimize your system so it runs faster and more efficiently.
Disk Defragmentation (for HDD)
If you’re using a traditional hard drive (HDD), defragmenting it can make file access faster. This process organizes scattered data so the drive doesn’t have to work as hard.
- For Windows users: Open “Defragment and Optimize Drives” and select your HDD to optimize.
- Note: SSDs do not need defragmentation. In fact, it shortens their lifespan. Modern systems automatically run TRIM commands to keep SSDs healthy.
Startup Program Management
Too many startup programs can make your boot time painfully slow.
To manage startup apps:
- Windows:
- Press Ctrl + Shift + Esc to open Task Manager.
- Go to the Startup tab and disable unnecessary programs.
- Mac:
- Go to System Preferences > Users & Groups > Login Items and remove unneeded entries.
Focus on disabling apps like Spotify, Skype, OneDrive, or anything you don’t immediately need after booting. This can shave several seconds (or minutes) off your startup time.
Maintaining Your PC After Cleaning
Cleaning once helps, but maintaining those improvements ensures your PC stays in top shape. Let’s go over how to keep it running well after the initial cleanup.
Preventive Measures
Dust and clutter build up over time, so set yourself up for less work later.
- Keep your PC in a clean, ventilated area.
- Avoid placing it directly on the floor, especially carpeted areas where dust collects faster.
- Use dust filters or mesh panels on your case if possible.
- Cover your PC when not in use for extended periods.
Keeping your workspace clean contributes more than you think to PC hygiene.
Monitor Temperatures and Performance
High temperatures are often a sign of poor airflow or aging thermal paste. Monitoring them regularly helps you catch problems early.
Useful tools:
- HWMonitor or Core Temp (Windows) – check CPU and GPU temps.
- Mac Fan Control (Mac) – monitor and adjust fan speeds.
- Task Manager (Windows) or Activity Monitor (Mac) – keep an eye on resource usage.
Watch out for sudden spikes or consistently high readings. If your CPU is hitting 90°C+ during normal use, it’s time to recheck airflow and cooling.
Keep External Components Clean
Don’t ignore the outside. Keyboards, mice, monitors, and other peripherals gather dirt and grime quickly.
- Wipe screens with a microfiber cloth and a screen-safe cleaner.
- Use compressed air or a small brush to remove debris from keyboard keys.
- Clean mouse sensors and pads regularly to maintain tracking accuracy.
- Wipe down headphones, speakers, and game controllers if you use them often.
Not only does this look better, but it also keeps bacteria and allergens to a minimum.
Long-Term Maintenance Tips
A few small habits can make your PC last much longer and perform consistently.
Regular Checkups
- Set a monthly reminder to dust out vents and fans lightly.
- Perform a quarterly deep clean like the one outlined above.
- Schedule software cleanups every 1-2 months to remove bloat and check for updates.
Environmental Considerations
Where you place your PC matters.
- Avoid direct sunlight or hot spots near heaters.
- Keep humidity levels low — moisture and electronics don’t mix.
- Don’t smoke near your PC — smoke particles are sticky and attract dust faster.
If you live in a dusty or humid area, you may need to clean more frequently.